Longarm Quilting Services

THE MOST HEARD COMMENT IS…
“My quilt isn’t square or very even, I’m sure you won’t be able to quilt it.”
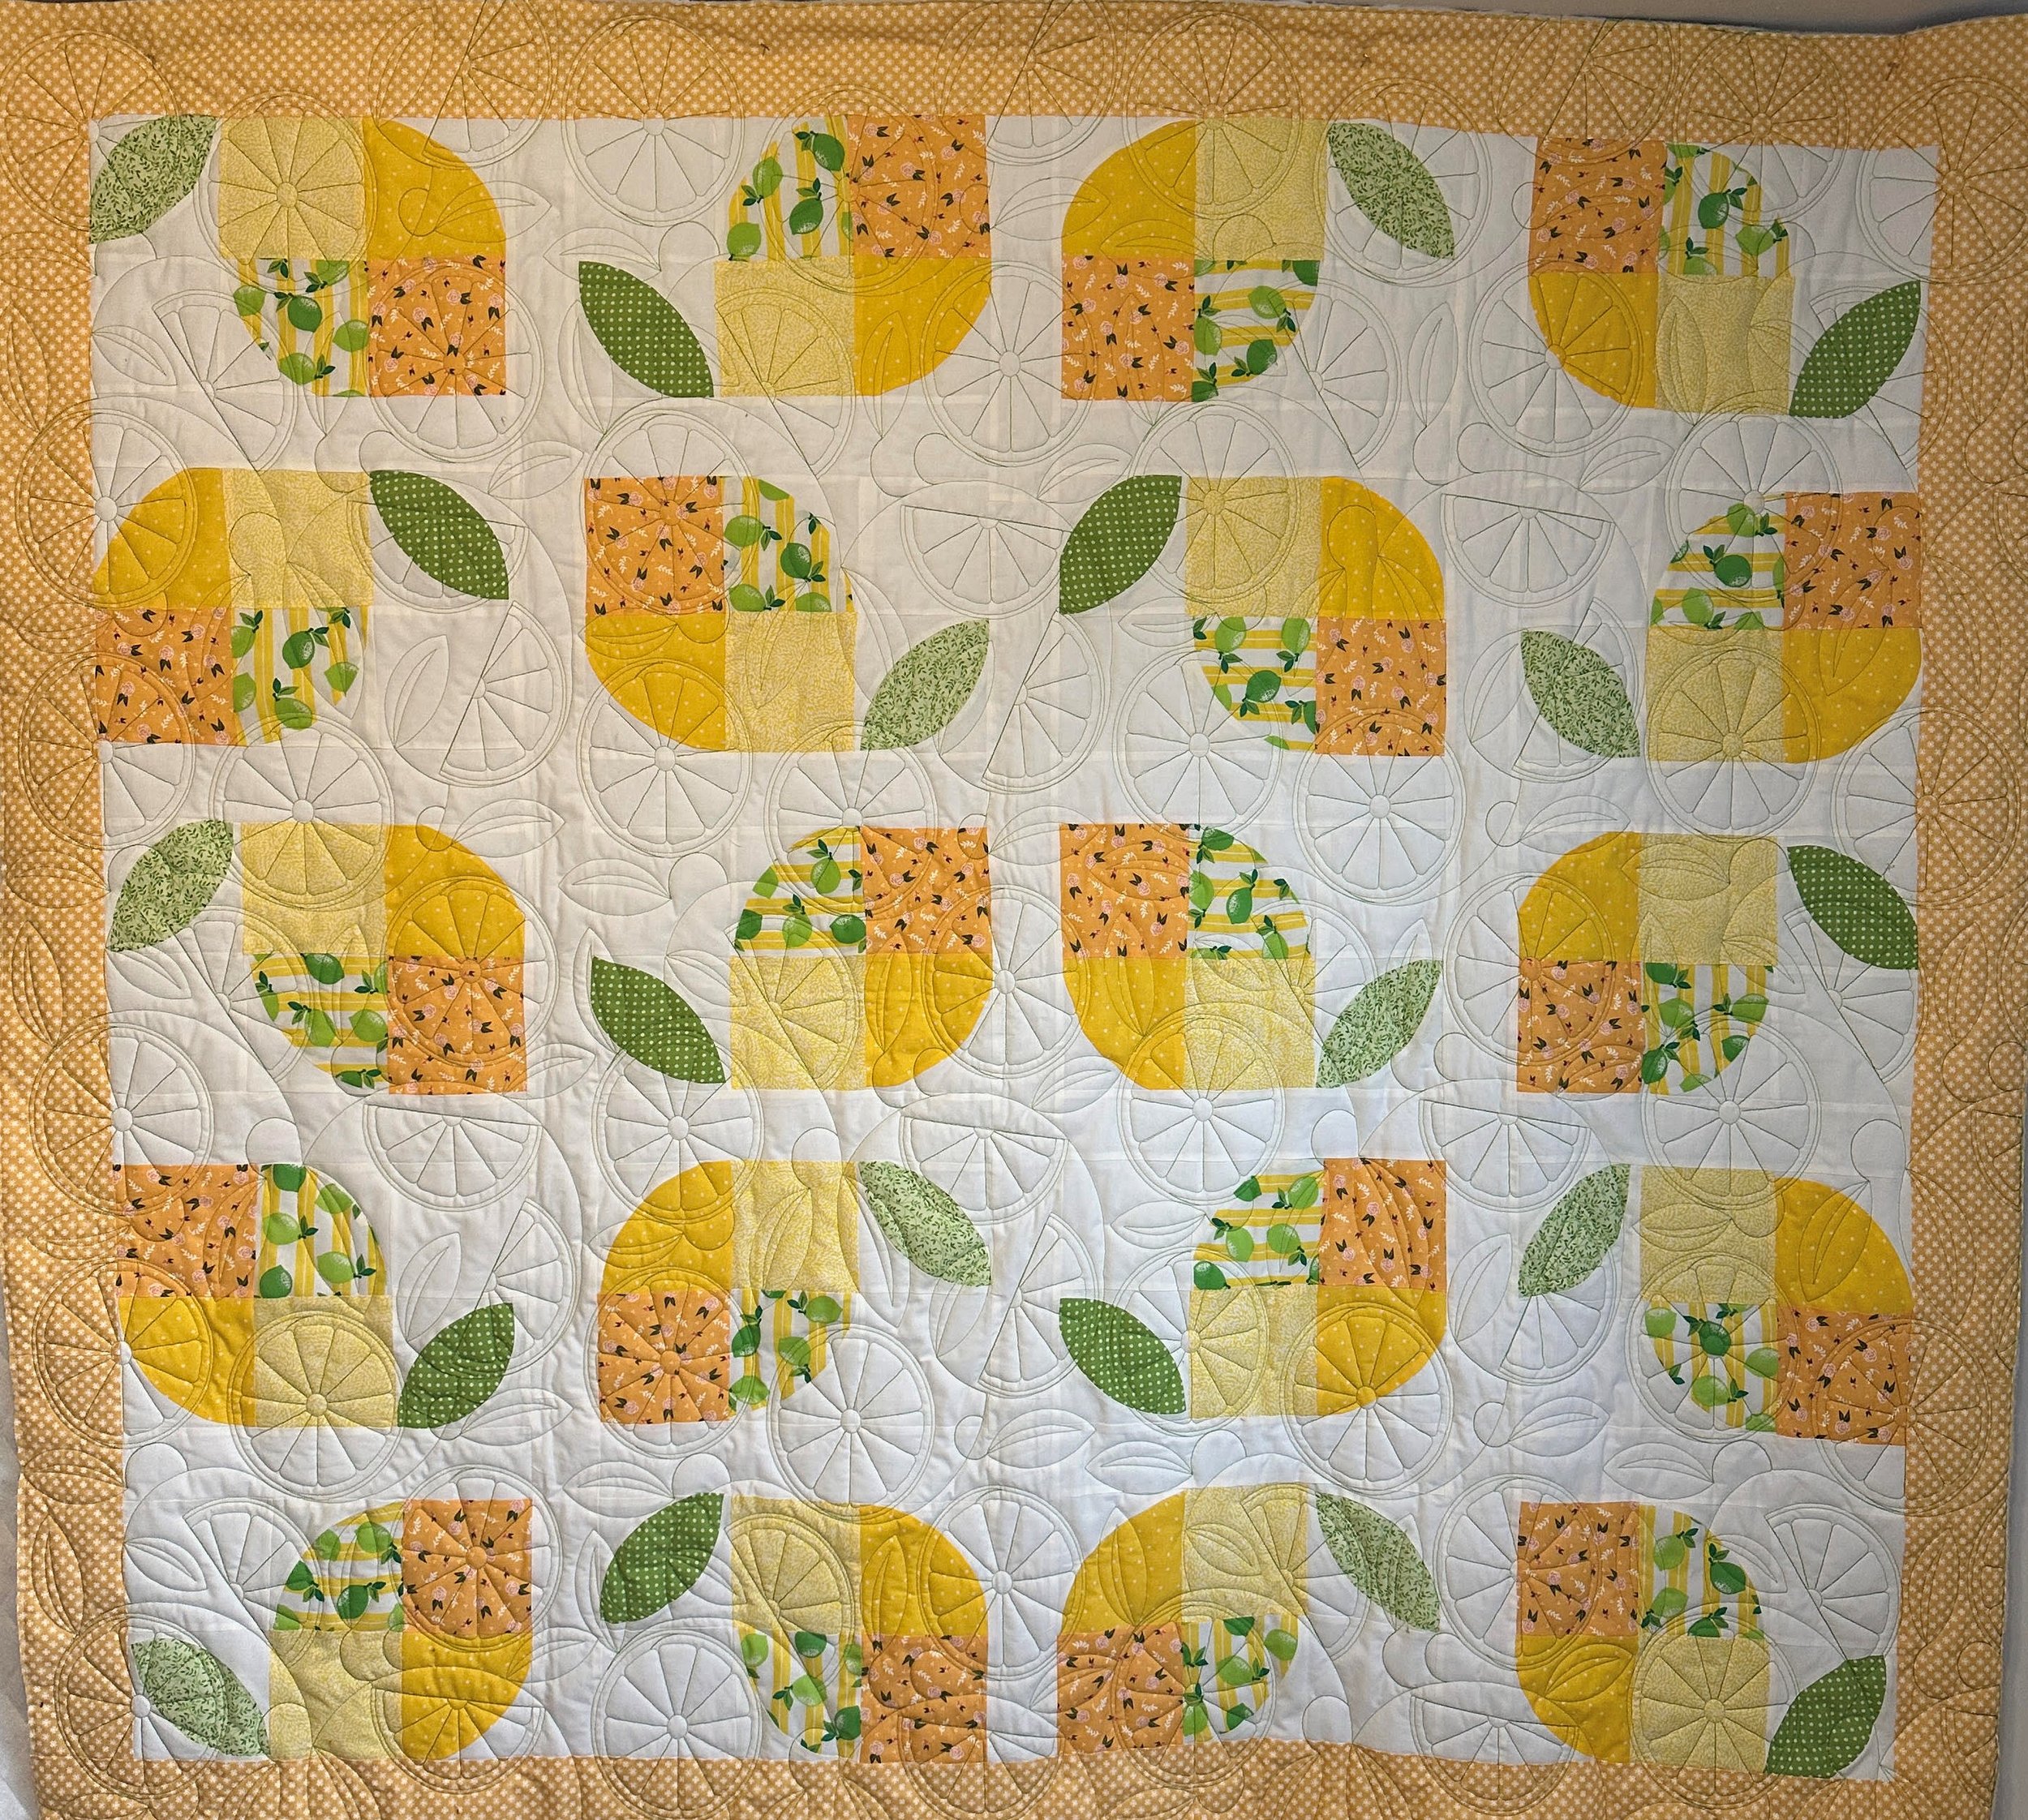
If I had $10 for every time I’ve heard that, I’d have another longarm! I’ve never seen a quilt that my longarm quilting won’t enhance. Even if you think your stitching and piecing is not good enough.
I HEAR THIS WHEN THEY GET THIER QUILT BACK…
“Oh MY GOSH!! It’s beautiful, I can’t believe it. I didn’t like it when I brought it to you and now I absolutely LOVE, love, Love it!!!”
And that’s what we do…
HOW TO PREPARE A QUILT FOR A LONGARMING
Press Seams on the Top and the Backing: Press your quilt top and backing, when in doubt press towards the dark side.
Mark Which Side is the Top of your Top: If your quilt is directional, or you want one side to be the top, please designate this. This is extra important if the quilting design we pick is directional. I want to make sure you don’t end up with an upside down quilt. Pin a small post-it note with the top marked.
Stay Stitch Your Top: f you have a pieced border/edge of quilt, stay stitch 1/4” to 1/8” all the way around. This prevents your seams from opening when I gently stretch it on the long arm.
Measure Top: Measure your top width and length for the order form. The width X the length = the square inches. My prices are based on square inches.
Clip Dark Threads From Back and edges of the quilt top: Clip all dark threads on back of quilt as they could show through the top if you have a very light or white background fabric. Clip the threads on the ends/sides of the top and back. If you have a light colored threads there is no need to clip those.
Square up your backing: If your backing is pieced fold the two pieces together lining up the selvedges. Then line up a line on your ruler with the folded edge. Then cut about an inch or so off the the top of the fabric. Do this on the bottom edge of the fabric too. This ensures that your backing is square, meaning all the corners are 90 degrees.
Mark the Top of the Backing: Make sure your backing is a minimum of 4” larger on all sides of your quilt top, but not more than 8” larger. I need the extra fabric to load your quilt onto my frame. If there is not enough extra fabric, I will contact you and you can either send me a new backing that is bigger, or I can sew additional fabric onto the back for a fee. Ultimately, the extra fabric should not show on your quilt, but it will give me the room I need to load it onto my frame.
Measure Your Batting (Or Buy From Me): Just like the backing, I need some extra batting to ensure I can load the quilt sandwich on the machine appropriately. I also like to have a little extra in case there is any shifting or the batting is not cut straight. If you purchase your batting from me, I will make sure there is enough to load it properly. If you send your own high quality batting you need to make sure it is at least 4” wider and longer than your quilt top. I have a selection of quality Hobbs brand batting for sale, see the pricing sheet.
Place Everything in a Plastic Bag Before You Ship It: We want to keep your quilt dry and a new garbage bag works great!
Now that you know how to prep and get your quilt top to me…
I’ll bet you’re wondering what design you want stitched on your quilt. Wonder no more!
Click the Chick and Sister will take you to the designs
Oh! You want to know how much it’s going to cost? Of course!
Here’s a list of my services and the cost.
First, you need to know the square inches of your quit top. To figure out the square inches, times the width of your quilt top by the length. Then times that by the cost of the quilting you want. This will give you a general idea how much it will be.
I also offer other services, batting, binding, Cuddle backing, etc., Check out the price list here.
Order Form
To place a quilting order, please fill out this form. Then pack and ship your quilt to me at the address in the footer below.


